What is Keycloak?
Efficient management of user authentication and authorization is critical in the world of distributed systems and current apps. An open-source identity and access management program called Keycloak provides a powerful Single Sign-On (SSO) solution that makes user authentication easier for a variety of apps.
We'll dive into Keycloak SSO in this blog article, going over its works, install and configure.
Method 1: Install as bare metal on Linux
Step1: Install latest Java
Visit https://www.oracle.com/java/technologies/downloads/#java17 and download java17
(OR)
For CentOS, RedHat, Rockylinux
sudo yum -y update
wget https://download.oracle.com/java/17/latest/jdk-17_linux-x64_bin.rpm
sudo yum -y install ./jdk-17_linux-x64_bin.rpm
For Ubuntu ,Debian
sudo yum -y update
wget https://download.oracle.com/java/17/latest/jdk-17_linux-x64_bin.rpm
sudo dpkg -i ./jdk-17_linux-x64_bin.rpm
#(or)
sudo apt-get install openjdk-17-jdk
Step2:Download keycloak
Visit Official site: https://www.keycloak.org/downloads

(OR)
wget https://github.com/keycloak/keycloak/releases/download/23.0.3/keycloak-23.0.3.tar.gz.sha1
tar -xf keycloak-23.0.3.tar.gz     # Extract Files
Step3: Configure Admin Credentials
Before proceeding to install need to set admin credentials.
export KEYCLOAK_ADMIN=admin            # Username Here
export KEYCLOAK_ADMIN_PASSWORD=admin   # Password here
Step 4: Run keycloak in Dev Mode
Note: If you want run keycloak in production, please skip this step. And go to Step 5
- For dev and purpose we can Start keycloak in dev mode
cd keycloak-23.0.3      # Change directory
bin/kc.sh start-dev     # Start Keycloak in dev mode
- For Run in background mode use & at the end. Like below command
bin/kc.sh start-dev & # Start Keycloak in dev mode
Step 5: Run Keycloak in Production Mode
Keycloak uses Port 8080, make sure it not used by any other services
For check port status
ps -ef | grep -i 8080
- Build Run Keycloak
bin/kc.sh build          # Start Keycloak build
bin/kc.sh start &        # Start Keycloak in Production mode
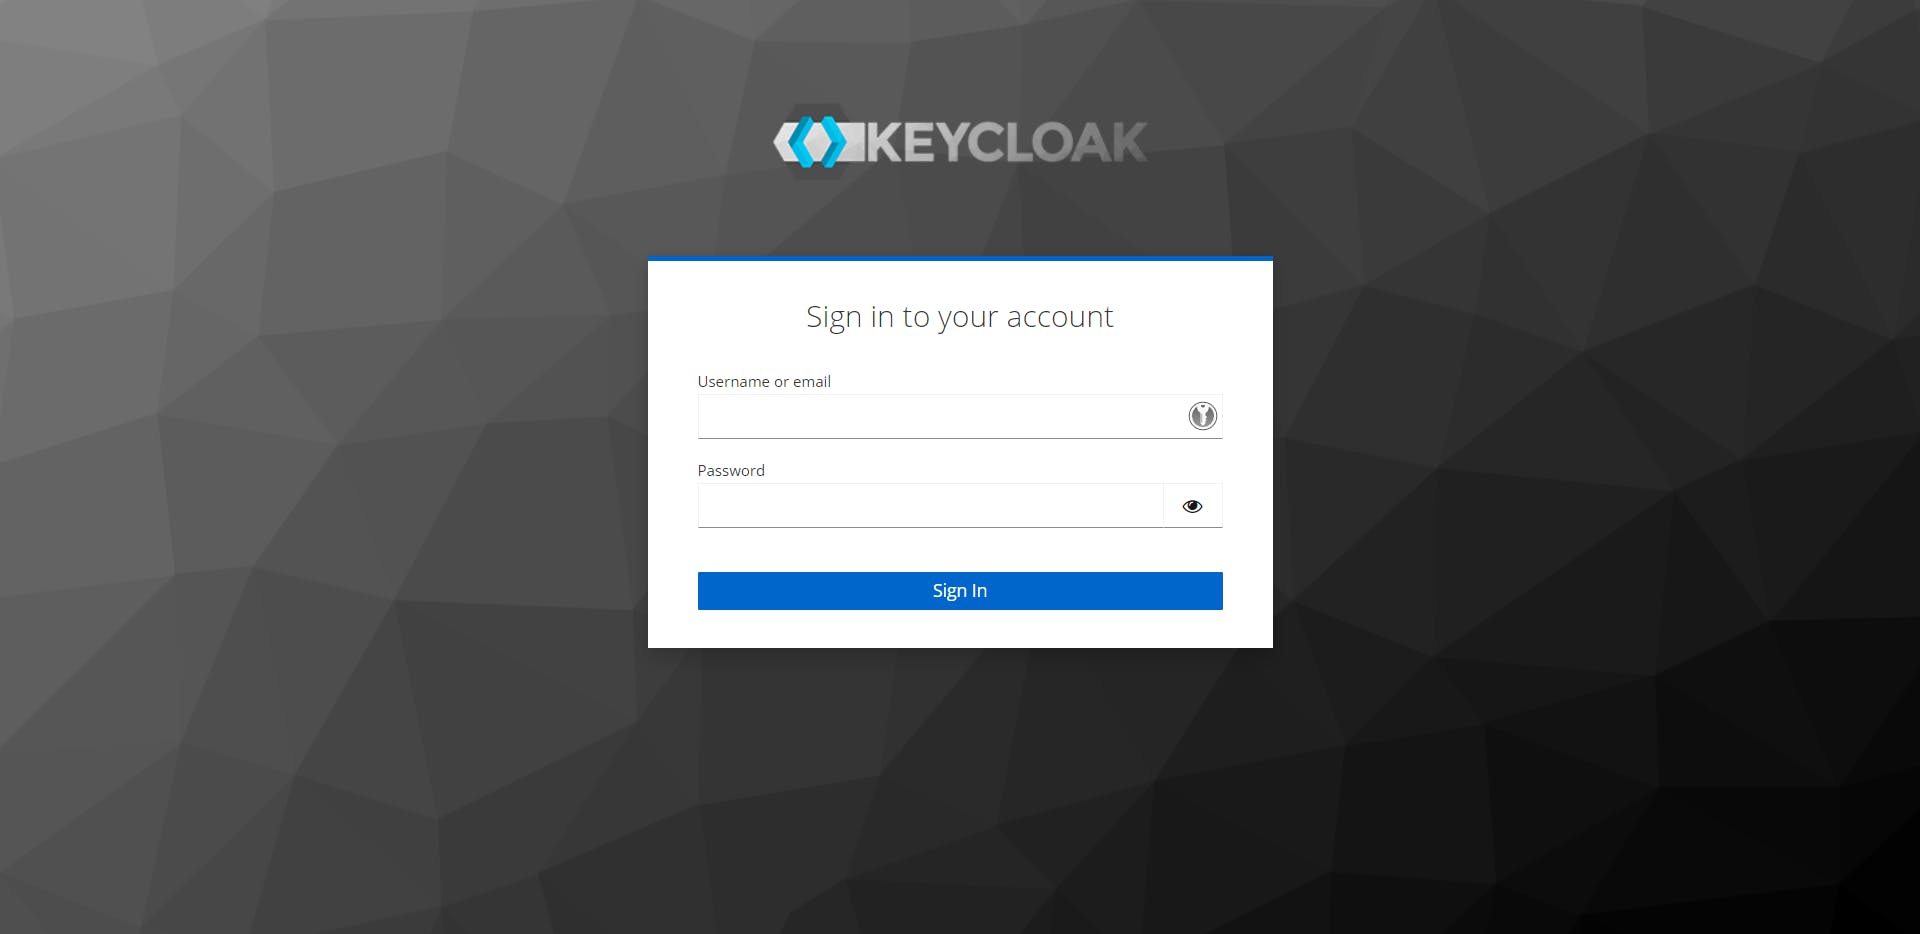
Once successfully started , Go to localhost:8080 or <Your_IP_address>:8080
Login using admin credentials.
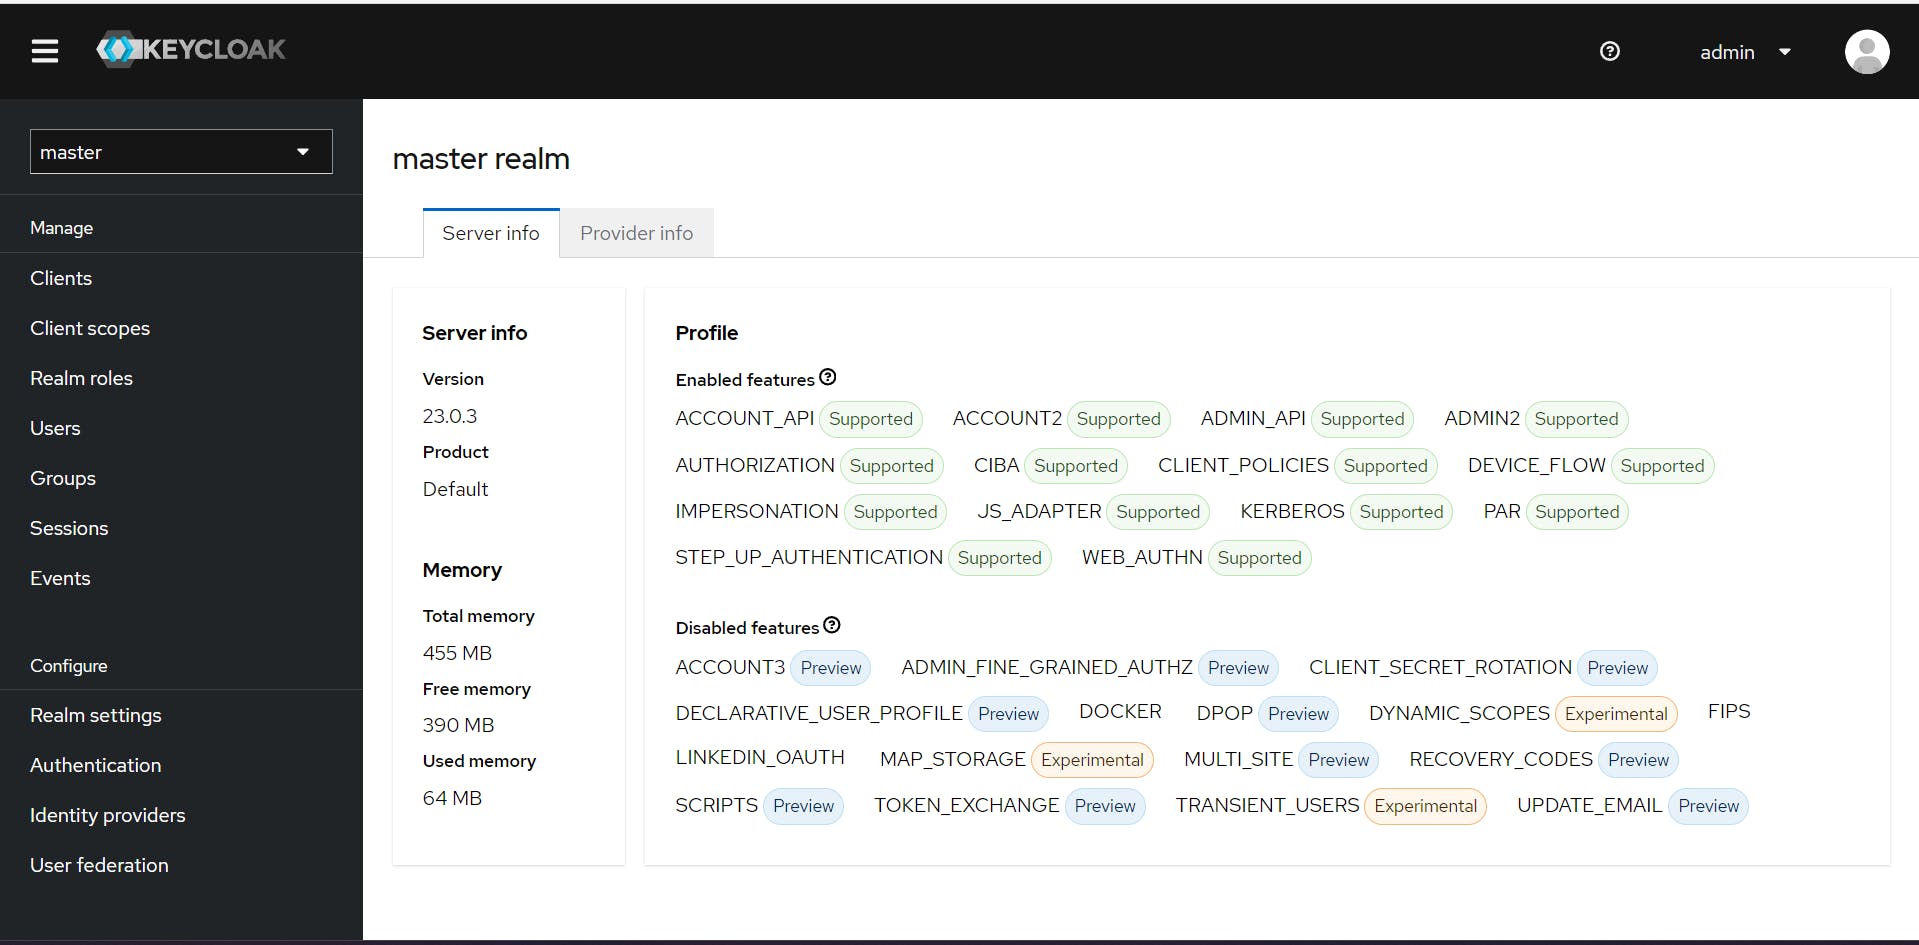
Once you logged you can see webpage like below.
Step 6: Create New realm
By clicking master you can see Create realm
Choose Create realm and Enter Realm name
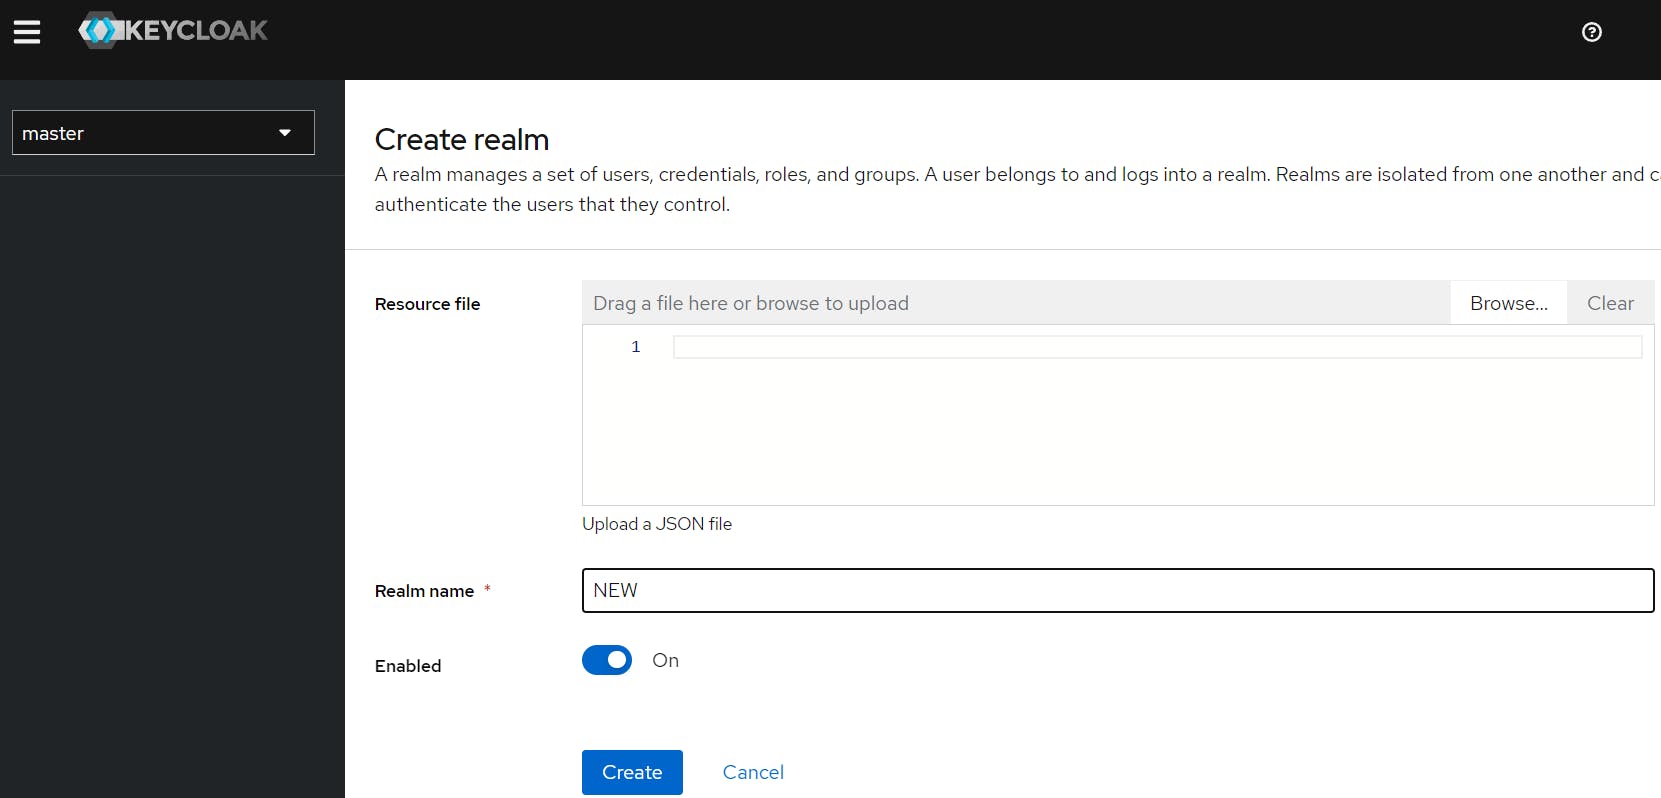
- now select that realm and procced with next step
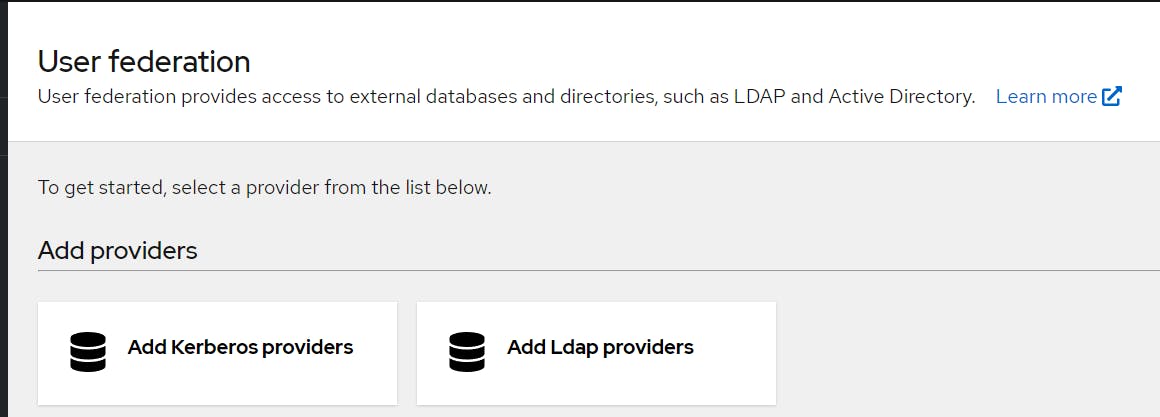
Step 7: Integrate with Active Directory
Go to and Open Add ladap providers
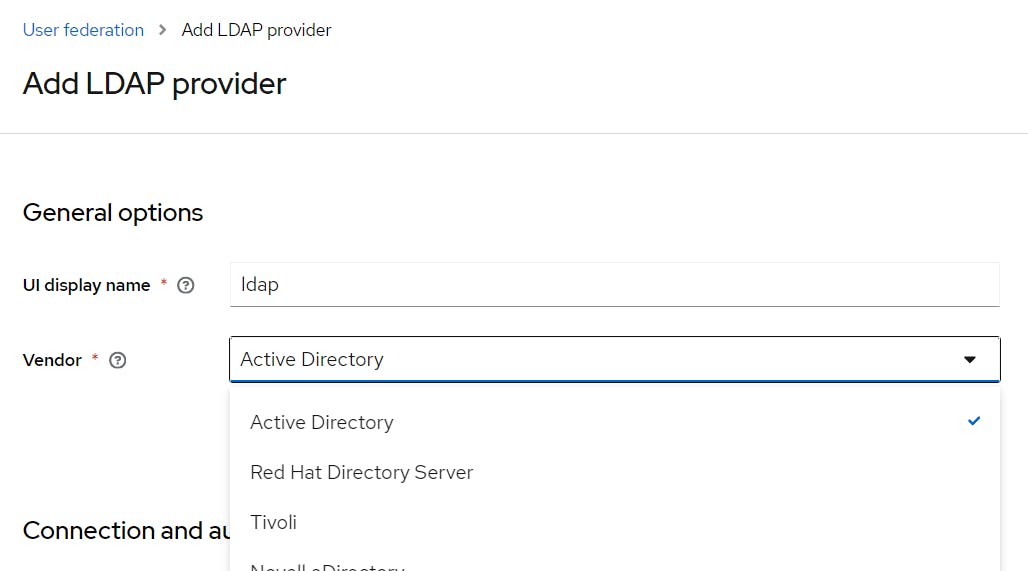
Vendor = Active Directory (you can choose as per required)
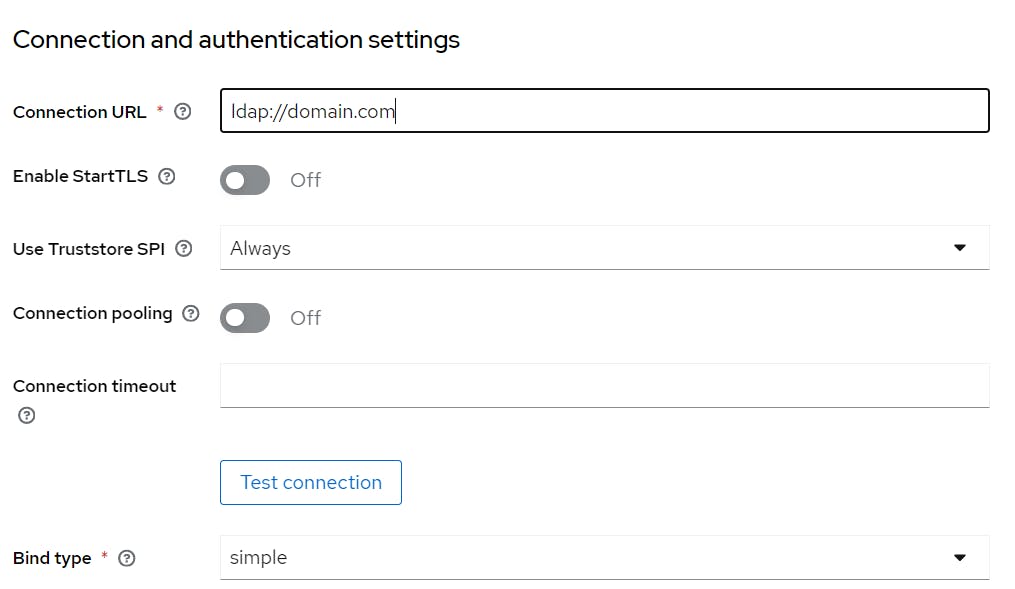
connection URL: ldap://<your_domain_name>
Bind type: simple
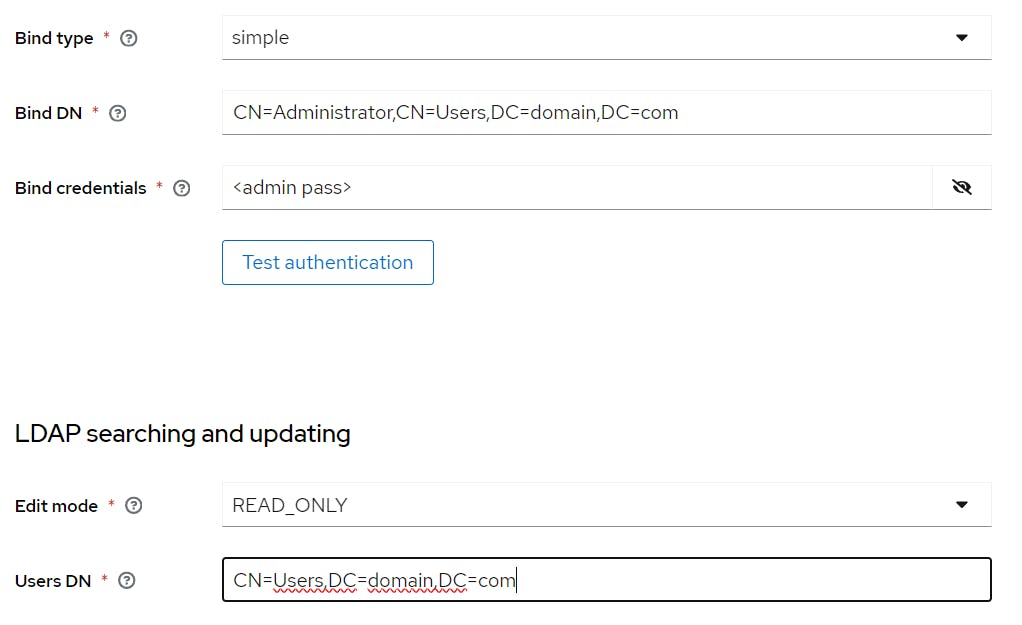
Bind DN: CN=Administrator,CN=Users,DC=domian,DC=com
Bind Credentials: Enter Domain Administrator credentials
Edit Mode: READ_ONLY
Users DN: CN=Users,DC=domian,DC=com
Note: if your users created different OU in AD, like OU =members
your User DN will be: OU=members,DC=domian,DC=com
Import users ON, Sync is ON
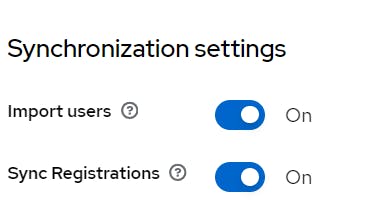
other setting leave as defaults
Click Test the Connections and Test authentication

Once Successfully Connected, Go to Action click Sync all Users and Save.
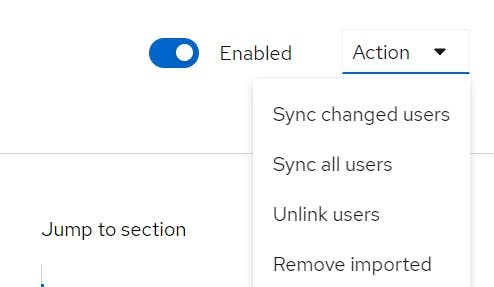
- Go to Clients and Open Home URL

- Click Sign in Login using AD user credentials

Backup and Restore:
Exporting a Realm to a File
To export a realm to a file, you can use the --file <file_name_here> option.
If you do not specify a specific realm to export, all realms are exported.
#Export All realm into file
bin/kc.[sh|bat] export --file <file_name_here>
Exporting a specific realm
To export a single realm, you can use the --realm option as follows:
bin/kc.[sh|bat] export [--dir|--file] <path> --realm my-realm
# Export demo realm to file
bin/kc.sh| export --file  --realm demo
Export only realm (without users)
#Export the demo realm without users
bin/kc.[sh|bat] export --file demo --users skip
Importing a Realm from a File
To import a realm previously exported in a single file, you can use the --file <file> option as follows:
bin/kc.[sh|bat] import --file <realm_file_name_here>
Follow for More 👉

